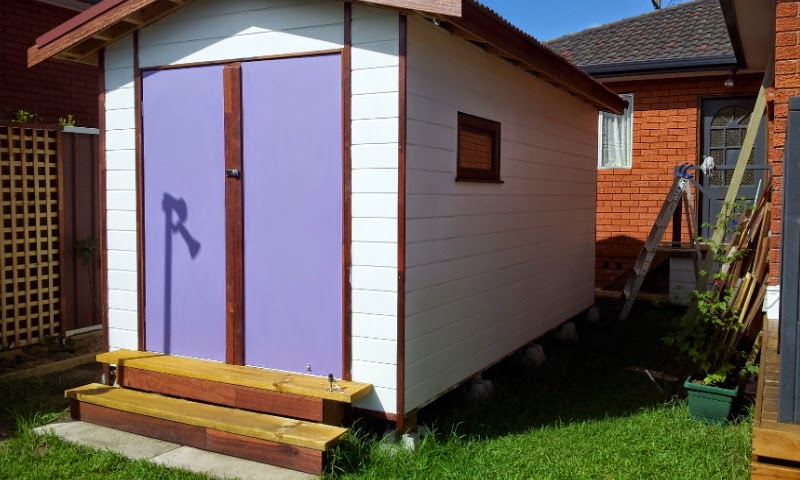
My how to build a shed is starting to take shape now. I settled on 4.8m x 3.6m for the floor area. Fits my space nicely and works out to be standard material sizes which is important from an economic stand point. Notice how the levels are achieved by sizing up 90×90 posts into the slots in the handi blocks.
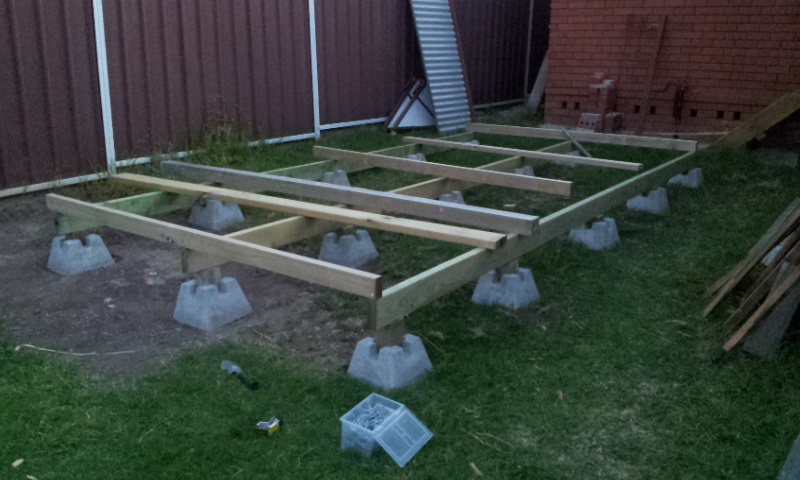
The Handi Blocks don’t have to positioned perfectly since there is some leeway with using the 90×90 posts. I used a laser distance meter to ensure mine were perfect 🙂
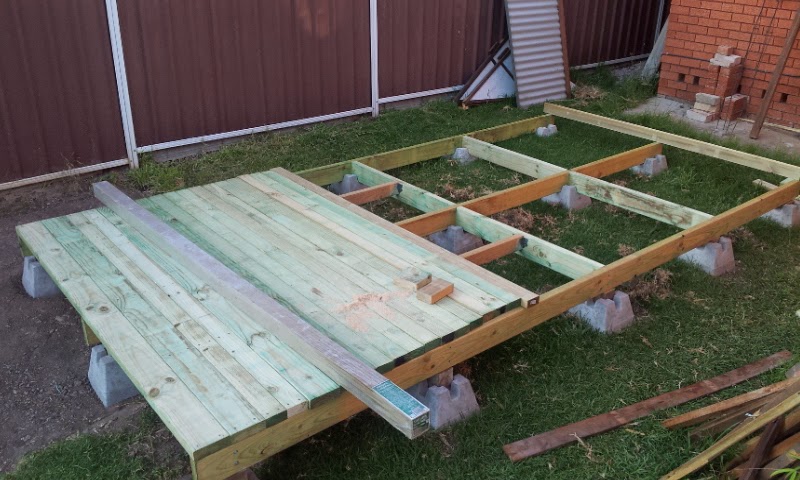
I spent ages worrying about building the shed floor. I was originally going to place joists over the bearers as is the norm. For the span I would have needed to use 90×45 treated pine and then still had to think about the flooring material. Council regulations in NSW for building a shed without council approval means I need to keep the total height of the shed below 3 meters. I had already lost 450mm at the highest point by using the handi blocks, so I was struggling with the height restrictions. Whilst I was at Bunnings buying joists and eyeing over the yellow tongue flooring, a builder I met there suggested I just roll the joists over and use that for the flooring. Great idea – as noted in the above image. My flooring is now 45mm thick with a mix of 120 and 90mm treated pine. Solid as a rock. Keeping with the over engineering I added hanging joists just for good luck. Flooring is screwed down and joist hangers are nailed.
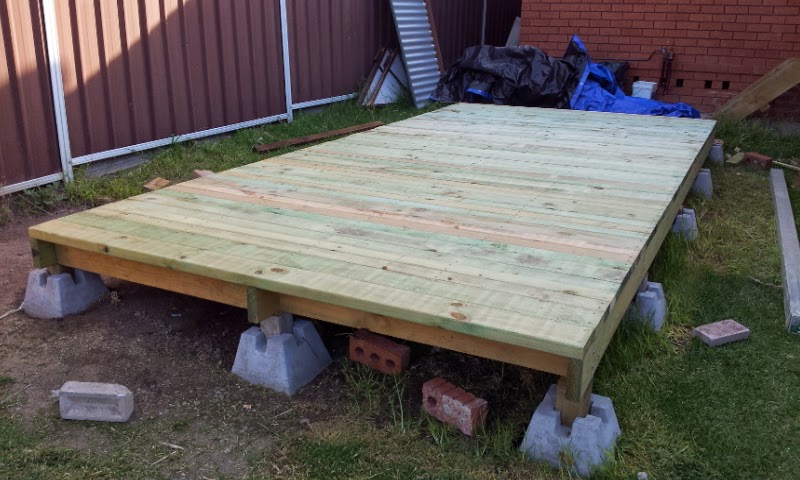
Shed Floor Complete
Here the floor is complete. I found that over the length of the floor timbers, it didn’t really matter if they had some bend to them. I just used a tie-down strap to pull them square befor screwing them down. Since it’s going to be the final floor, it’s more important to worry about the quality of the finish. So, no loose knots or rough saw marks which would make for a bad finish on the floor.
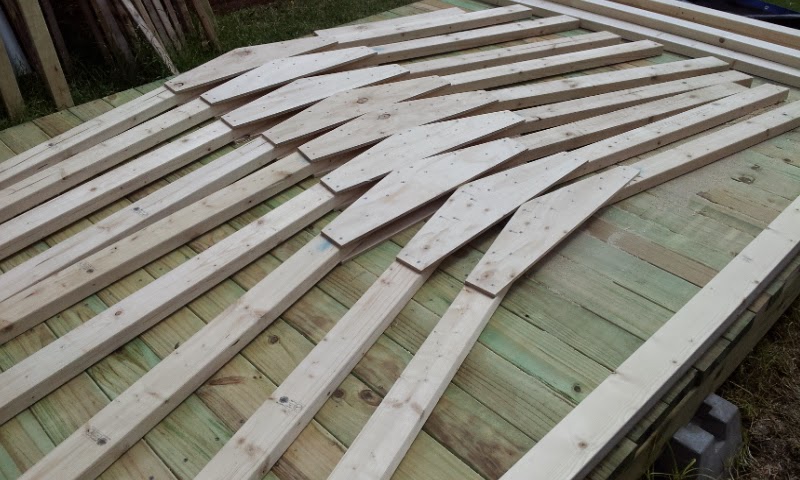
It takes a bit of thought working out what type of roof to make. The easiest is just a flat roof with a bit of lean to it to have the water run off. It also gives you the most amount of head space, but in my opinion it’s ugly. Trusses are best made just after making the floor. You have a large work area and the floor shape is the same as the projected roof supports. Make one and then lay it on the floor and nail blocks of wood around the components of the truss as guide for the ones that follow. Sorry – no pictures of this process in how to build a shed. Gussets are plywood, nailed and glued for strength. The angles are suited to keep my final roof height at 3 meters with maximum wall height and a good incline for water runoff.