Skipping ahead a little in how to build a shed, you can see that we have wrapped the walls with sarking. This seals the shed from moisture and also adds a level of insulation. Neighbours side has been clad with blueboard cement sheeting. Trusses have been screwed in place with rafter ends screwed on to make the roof nice and solid.
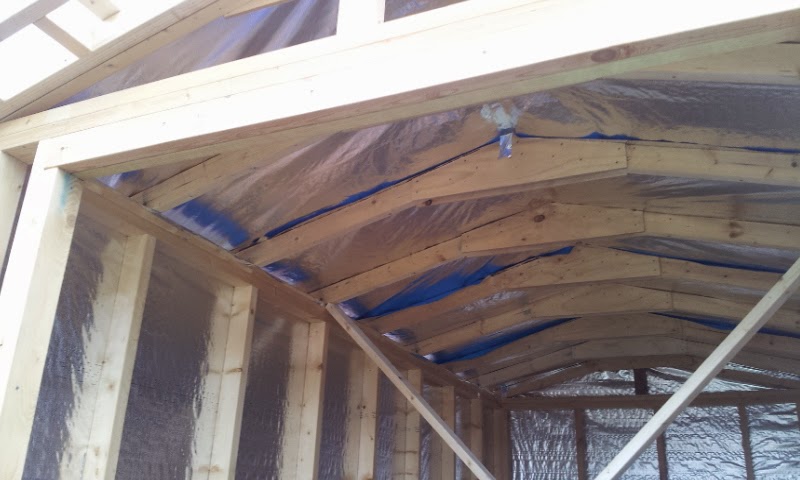
Don’t forget to sark the roof as well. It will channel the condensation from the corrugated roof sheets to the outside of the shed and not on your tools. Also helps to reflect the heat to keep your shed cool in summer.
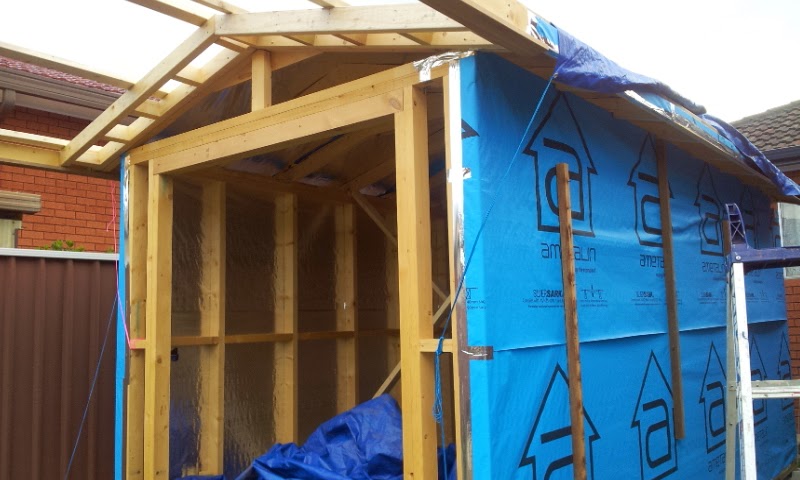
Adding a gable extension to the roof will help keep out the weather a little, provide some sun shielding and looks better than without. The gable was built as 2 ladders on the ground and screwed to the end truss.
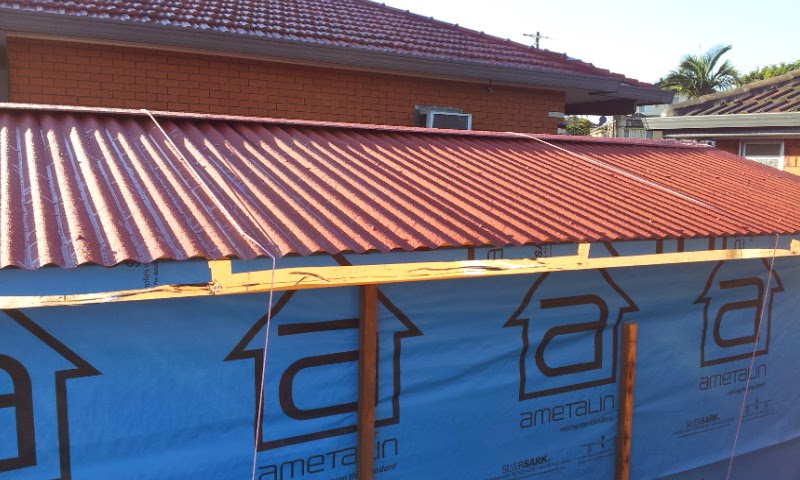
The we pop on some corrugated roofing sheets – and yes, it rained just as I finished sealing the roof. You need to leave enough overhang to allow the run-off to go into the gutter.
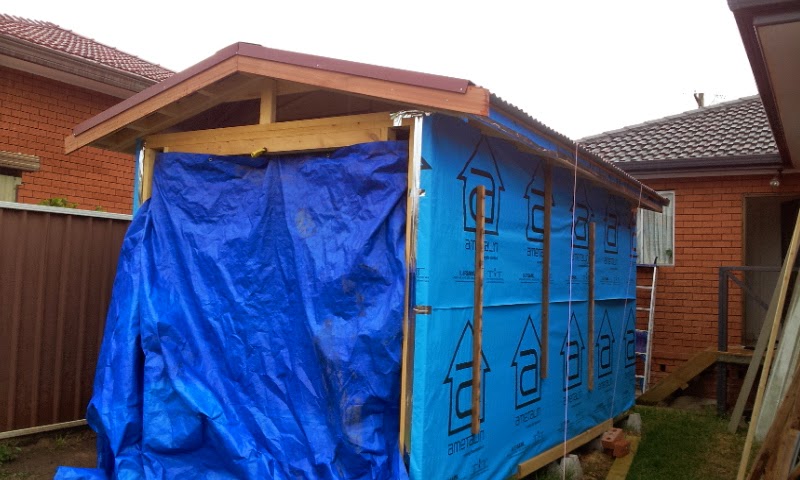
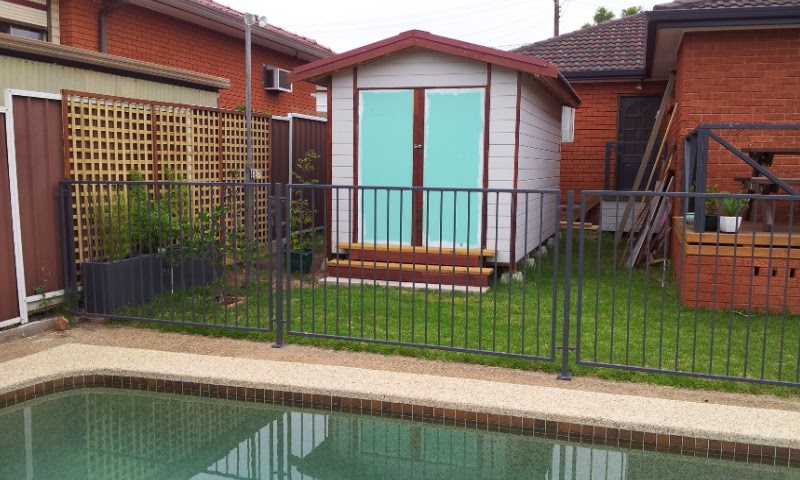
Here is what it looks like from the front.
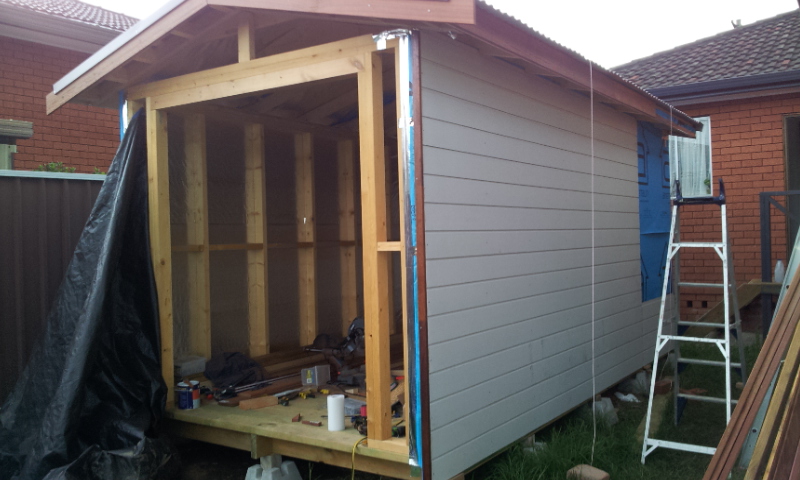
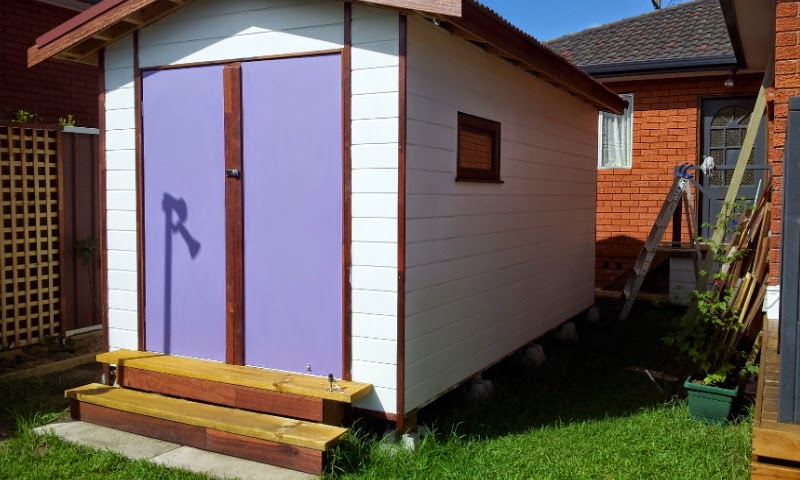
It took me a long time to decide on the siding. I priced up real timber from a mill and it was going to cost around $4,000 just for the timber. I finally settled on weathertex, which is an engineered wood and is available in 300mm widths and has a precision routed tongue and groove type of joint. So you start at the bottom and slot the next length right on top and nail off in the edge that gets covered by the length above.
I love the look, it’s light, economical, tough, easy to cut and comes pre-primed. I edged the ends with some strips of merbau fencing. The rafter ends and barge boards are Australian red wood decking.
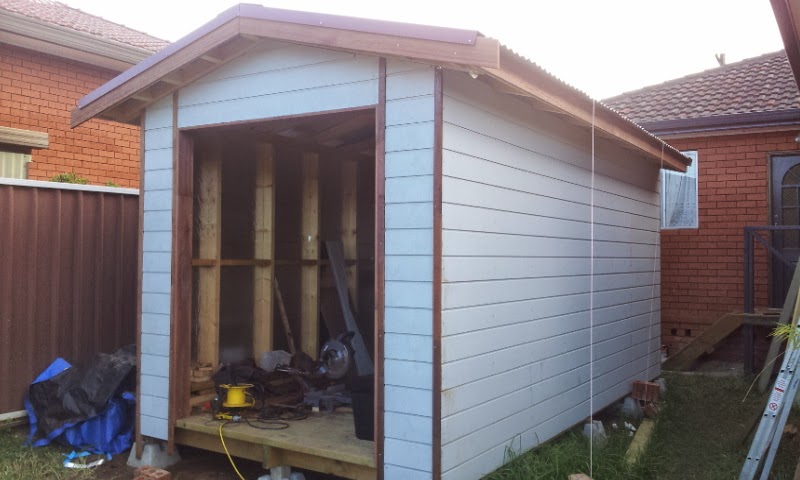
Here the siding is complete. The side near the neighbours fence I just used a couple of sheets of fibre cement blue board – to keep the costs down.
